
Mapa mental
SEMANA 6
Contenido del mapa
SEMANA 6
BASIC RESUSCITATION
- applied in cardiorespiratory arrest
- What is it?
- spontaneous cessation of breathing and circulation
- tends to be more frequent due to cardiac alterations
- more frequent is acute myocardial infarction
- generates severe arrhythmia and ventricular fibrillation
- more frequent is acute myocardial infarction
- tends to be more frequent due to cardiac alterations
- spontaneous cessation of breathing and circulation
- What is it?
- also called basic life support
- OBJECTIVE
- maintain ventilation and circulation of the person until you have the appropriate equipment (external defibrillator)
- GUIA
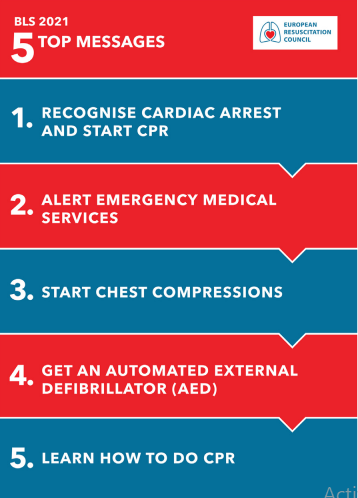
- RESUMEN INFOGRAFICO DE UN SOPORTE VITAL BASICO
- font:
- STEP BY STEP
- SAFETY
- CHECK FOR A RESPONSE
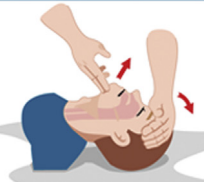
- OPEN THE AIRWAY
- LOOK, LISTEN AND FEEL FOR BREATHING
- look, listen and feel breathing no more than 10 seconds
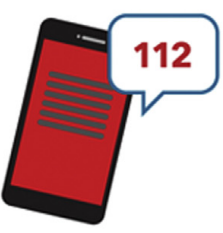
- ABSENT OR ABNORMAL BREATHING (ALERT EMERGENCY DEVICES)
- SEND SOMEONE TO GET AN AED
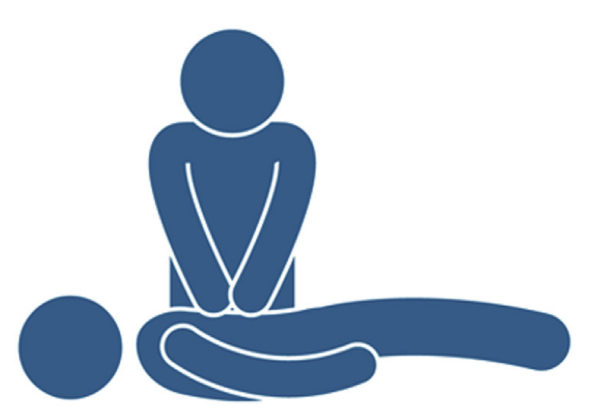
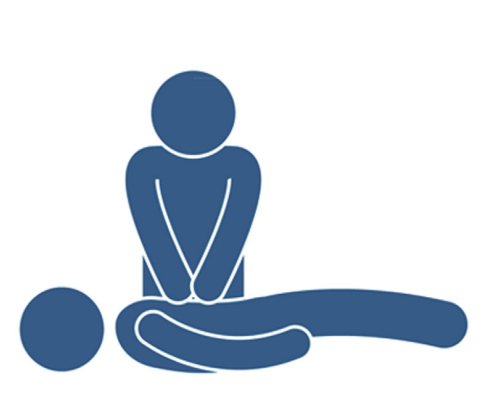
- START CHEST COMPRESSIONS
- Kneel the site of the victim
- Place the heel of one hand in the centre of the victim's chest - this is the lower half of the victims breastbone
- Place the heel of your other hand on top two of the first hand and interlock your fingers and Keep your arms straight
- Position yourself vertically above the victim's chest and press down on the sternum at least 5 cm
- After each compression, release all the pressure on the chest without losing contact between your hands and the sternum
- Repeat at a rate of 100-120-min-1
- COMBINE RESCUE BREATHING WITH CHEST COMPRESSIONS
- If you are trained to do so, after 30 compressions, open the airway again, using head tilt and chin lift
- Take a normal breath and place your lips around the victim's mouth, making sure that you have an airtight seal
- Pinch the soft part of the nose closed, using the index finger and thumb of your hand on the forehead and Allow the victim's mouth to open, but maintain chin lift
- Continue with chest compressions and reNcue breaths in a ratio of 30.2
- Maintaining head tilt and chin lift, take your mouth away Irom the victim and watch for the chest to fall 36 aircomes out and Take another normal breath and blow into the victim's mouth once more to achieve a total of wo rescue breaths
- Do not interupt compressions by more than 10 seconds to deliver the two breaths even one or both are not ellective, Then returm your hands without delay to the correc position on the sternum and give a further 30 chest compressions
- Blow steadily into the mouth whilst watching for the chest to rise, taking about 1 second as in normal breathing. This is an effective rescue breath
- COMPRESSION ONLY CPR
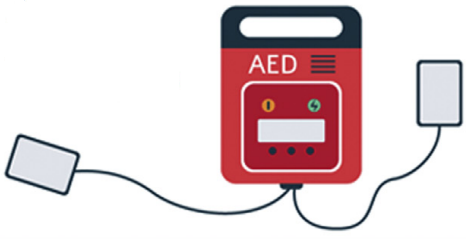
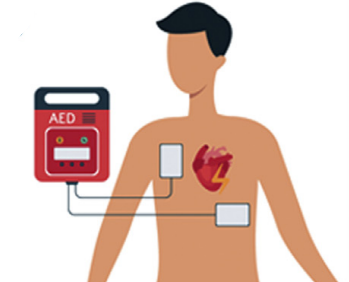
- WITCH ON THE AED AND ATTACH THE ELECTRODE PADS
- As soon as the AED arrives switch it on and attach the electrode pads to the victim's bare chest
- If more than one rescuer is present, CPR should be continued whilst the electrode pads are being attached to the chest
- FOLLOW THE SPOKEN/VISUAL DIRECTIONS
- Follow the spoken and visual directions given by the AED
- If a shock is advised, ensure that neither you nor anyone else is touching the victim • Push the shock button as directed
- Then immediately resume CPR and continue as directed by the AED
- IF NO CHKCK IS ADVICED, CONTINUE PCR
- IF NO AED IS AVAIABLE, CONTINUE CPR
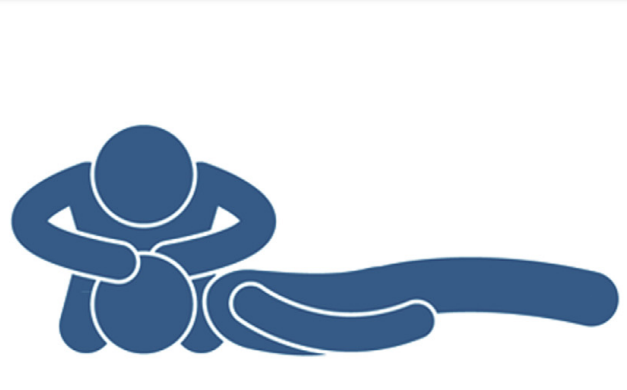
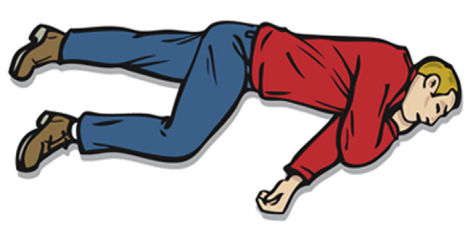
- IF UNRESPONSIVE BUT BREATHING NORMLLY, PLACE IN THE RECOVERY POSITION
- If you are certain that the victim is breathing normally but still unresponsive, place them in the recovery position SEE FIRST AID SECTION
- Be preparedoestart CPR immediately i the victim vecomes ungeponsive, with absent or alnamal breathing
- If you are certain that the victim is breathing normally but still unresponsive, place them in the recovery position SEE FIRST AID SECTION
- If no AED is available, OR whilst waiting for one to arrive, continue CPR
- A health professional tells you to stop OR
- Do not interrupt resuscitation until:
- The victim is definitely waking up, moving, opening eyes, and breathing normally
- QR
- You become exhausted
- It is rare for CPR alone to restart the heart.
- Unless you are certain that the victim has recovered continue CPR
- A health professional tells you to stop OR
- Signs that the victim has recovered Waking-up _ Moving - Opening eyes - Breathing normally
- IF UNRESPONSIVE BUT BREATHING NORMLLY, PLACE IN THE RECOVERY POSITION
- If no shock is advised, immediately resume CPR and continue as directed by the AED
- IF NO AED IS AVAIABLE, CONTINUE CPR
- Follow the spoken and visual directions given by the AED
- As soon as the AED arrives switch it on and attach the electrode pads to the victim's bare chest
- If you are untrained, or unable to give rescue breathes, give chest-compression-only CPR (continuous compressions at a rate of 100-120 min-1)
- WITCH ON THE AED AND ATTACH THE ELECTRODE PADS
- If you are trained to do so, after 30 compressions, open the airway again, using head tilt and chin lift
- Kneel the site of the victim
- send someone to find and brting back an AED if avaiable
- if you are on your own, DO NOT leave the victim, but start CPR
- START CHEST COMPRESSIONS
- if breathing is absent or abnormal, ask a helper to call the emergency services or call them yourself
- STAY WITH THE VICTIM
- activate the speaker function on the telephone so that you can start CPR whilst taking to the dispatcher
- SEND SOMEONE TO GET AN AED
- someone who is barely breathing, taking infequent, slow and noisy gasps, is not breathing normally
- look, listen and feel breathing no more than 10 seconds
- if there is no response, place the victim face up, with your hand on the forehead and chin gently tilt the head back to open the airway
- LOOK, LISTEN AND FEEL FOR BREATHING
- shake the victim slightly and ask how they feel
- OPEN THE AIRWAY
- make sure that you and the victim are safe
- CHECK FOR A RESPONSE
- SAFETY
- RESUMEN INFOGRAFICO DE UN SOPORTE VITAL BASICO
- applied in cardiorespiratory arrest
Imágenes y archivos del mapa



Información
- Descripción
- Mapa Mental sobre SEMANA 6, creado por Daniela Torres el 24/09/2021.
- Creado por
- Daniela Torres
- Visitas
- 0
- Valoración